Pergolas are a great way to spruce up your garden but buying a kit or paying professionals to construct one can quickly become pricey. Luckily, with some planning and a bit of hard work, you can build your own without spending a fortune.
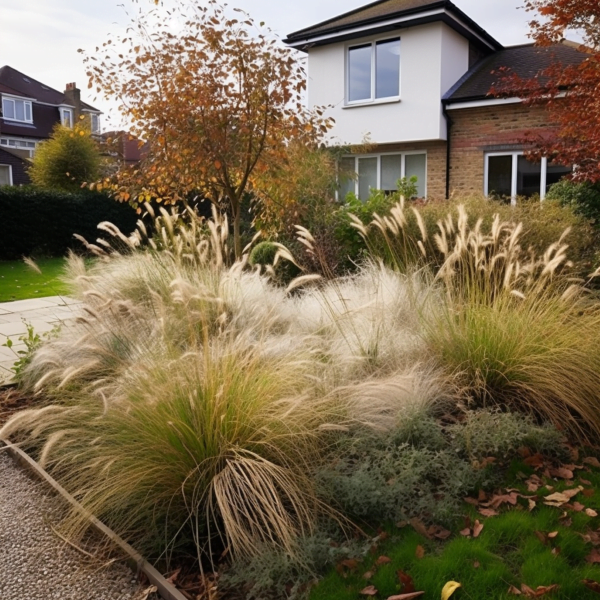
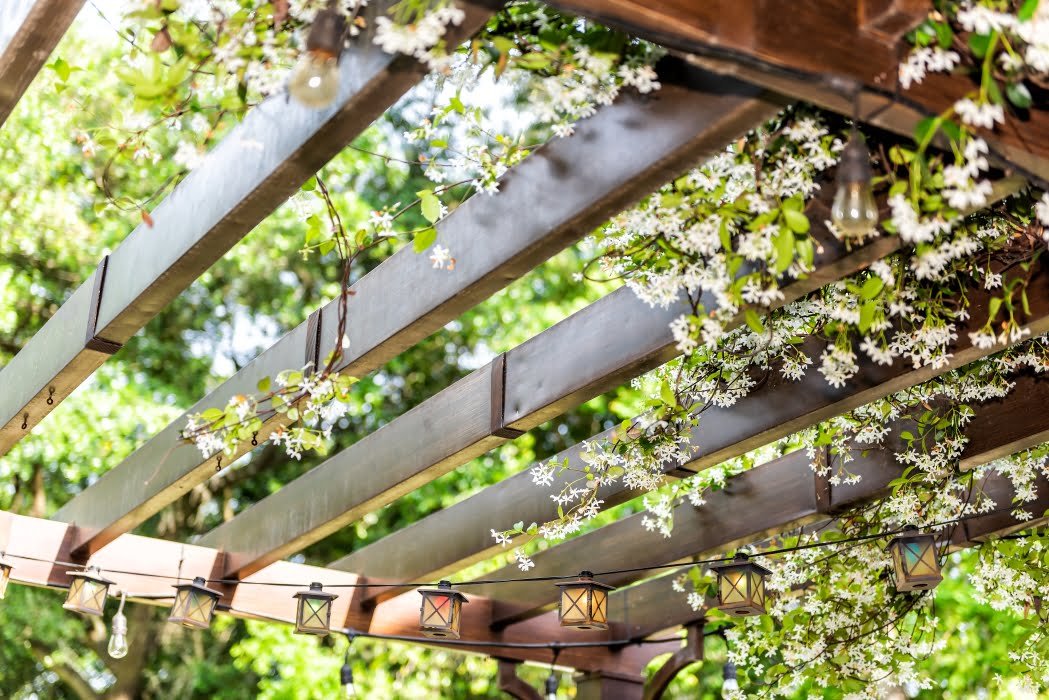
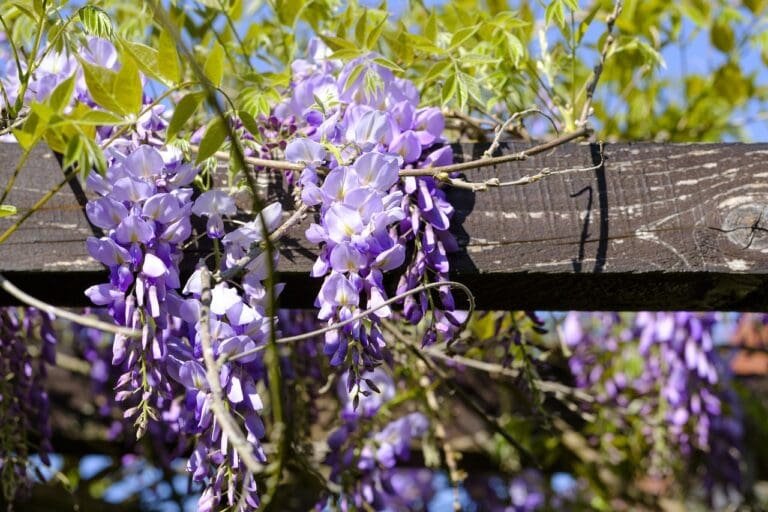
Pergolas aren’t just practical; they add a special touch to your outdoor space. They’re perfect for climbing plants, offer a shady spot on sunny days, and make for a cosy corner to unwind. Plus, they blend your home and garden, making everything feel connected. Building one yourself not only saves money but also lets you add your unique style.
Top Tip
Pre-drill holes before inserting screws to prevent wood from splitting and ensure a sturdy construction.
This post contains affiliate links which means we may make commission from any qualifying sales with no extra cost to yourself.
Components for Your Budget-Friendly Pergola
- Posts
- Beams
- Rafters
- Corner braces (to enhance stability)
- Concrete (essential for post footings)
- Galvanised stirrups (consider this for additional stability)
- Outdoor-grade fasteners (including carriage and coach bolts)
Tailor this list to suit the specifics of your pergola design.
Benefits of Building a Pergola on a Budget

Cost Savings
Buying a pre-made pergola or hiring professionals can seriously dent your finances. Building on a budget means you get the same functional and aesthetic appeal but at a fraction of the cost.
Opportunity to Customise
DIY means having full control. Fancy a certain shade of paint, unique dimensions, or a specific wood type? When you build it yourself, you can tailor every inch to your preference.
Sense of Accomplishment
There’s a distinct joy in standing back and admiring something you’ve crafted with your own hands. Building your pergola adds a personal touch to your garden, making every moment spent under it even more special.
Materials and Equipment Needed
Timber
If budget’s a concern, pressure-treated timber is the way to go. This wood is resilient against decay and pests, making it a practical choice. And here’s a little comparison: while oak exudes charm and sturdiness, it can substantially up the costs. So, for those keen on savings without compromising too much on quality, pressure-treated lumber is a sound pick.
Fasteners, Screws, and Nails
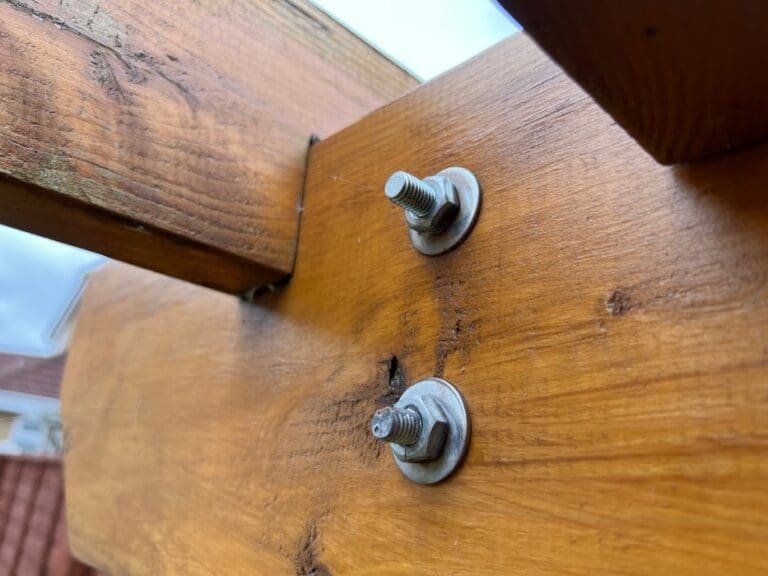
Keeping your pergola parts together requires reliable fixings. It might be tempting to save a few quid on regular varieties, but investing a bit more in stainless steel or coated options is wise. They not only offer a cleaner look but also resist rust, ensuring longevity.
Concrete for Post Footings

A pergola is only as strong as its foundation. Using concrete for your post footings guarantees a stable and durable base, helping your pergola weather many seasons.
Incorporating galvanised stirrups into the mix is a game-changer. Stirrups, which anchor the post above ground level, not only elevate the wood away from moisture but also provide additional stability against lateral forces. Investing in these can extend the lifespan of your pergola and ensure it remains sturdy and upright through unpredictable weather conditions.
Tools
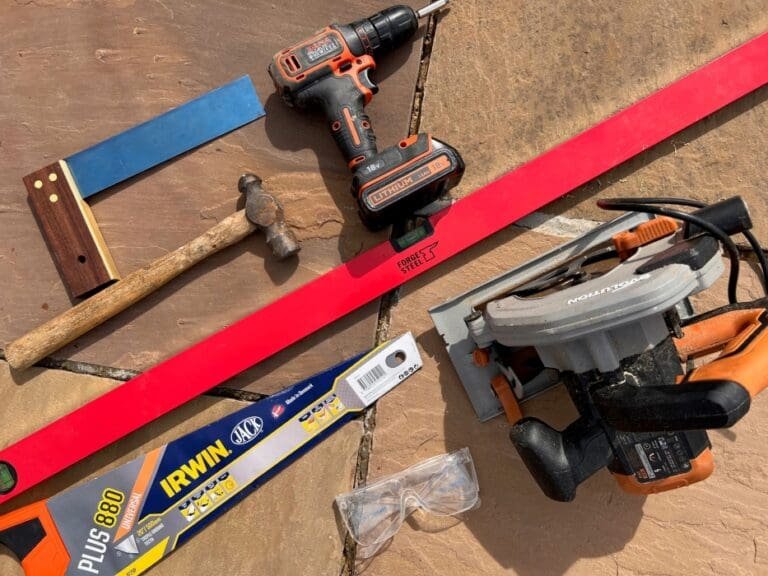
Building you own pergola doesn’t require too many specialist tools but you will need a trusty hammer, a chop saw or circular saw for precise cuts, a measuring tape for accurate dimensions, a level and of course, a drill for those crucial fixtures.
Paint or Stain for Finishing
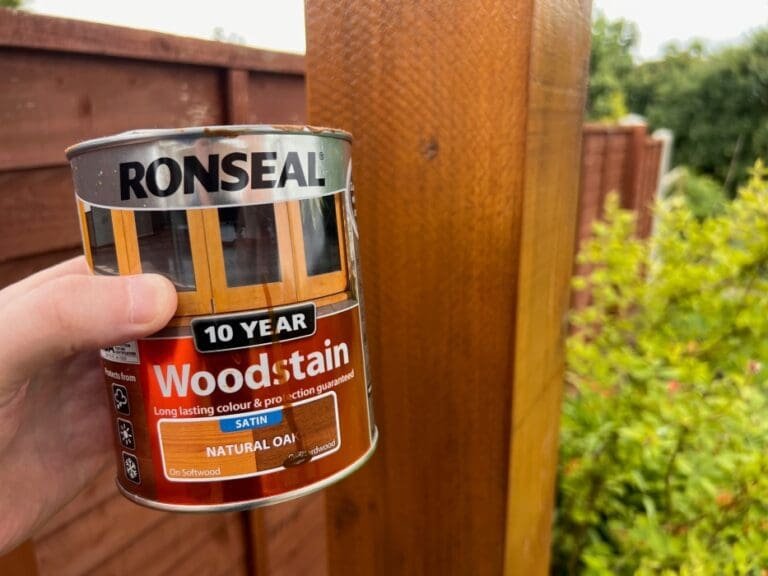
While adding paint or stain might seem like a mere aesthetic choice, it plays a dual role in both beautifying and protecting your pergola. If you’re aiming to elevate its appearance or ensure longevity against harsh weather, this step is crucial. For our project, we used Ronseal’s 10 Year Woodstain in Satin Natural Oak.
This stain, despite being applied to our budget-friendly treated timber, transformed the wood into a rich, luscious shade, giving our pergola a premium look without the high-end price tag. It’s a testament to how the right finishing touch can significantly elevate a project.
Top Tip
Invest in quality fixtures from the outset; they’ll enhance the pergola’s longevity and reduce maintenance costs in the long run.
DIY Budget Pergola Step-by-Step Guide
Building a pergola can seem daunting, but with a systematic approach, it becomes a rewarding project. Here’s a breakdown to guide you seamlessly:
Step 1. Planning and Design
Step 2. Setting the Posts
Step 3. Installing Beams and Rafters
Step 4. Finishing
Step 1. Planning and Design
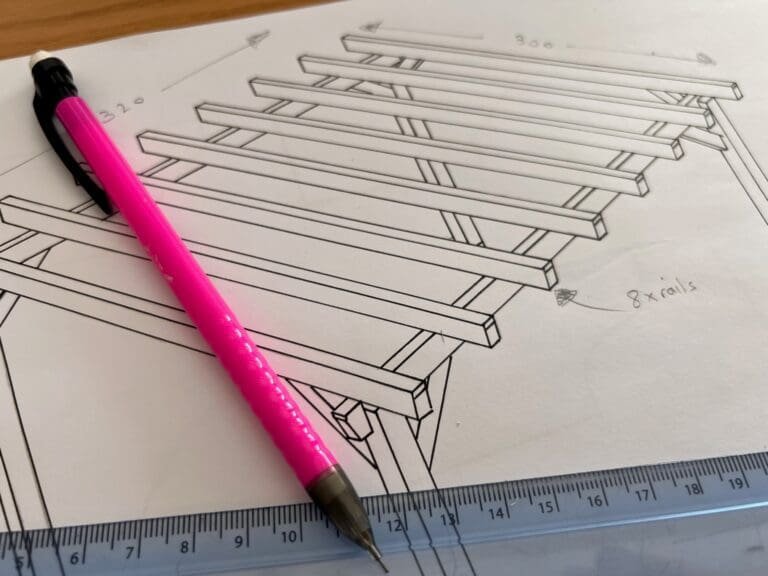
Determining the Size and Shape
Before anything else, decide how large or compact you’d like your pergola to be. Do you want a cosy corner for two or a sprawling space for gatherings? Your garden’s size will play a role, but it’s also about how you envision using the space.
Deciding on the Components
The number of posts will dictate your pergola’s sturdiness and look. Typically, four is common, but larger designs might require more. Decide how many rails and rafters will offer the right balance of shade and openness.
Drafting a Blueprint
A visual guide is invaluable. Sketching out your plans, even if roughly, will help. If you’re tech-savvy, CAD software like SketchUp offers a digital way to visualize and make adjustments.
Step 2. Setting the Posts
Digging Post Holes
To ensure your pergola stands firm, dig post holes about 2 feet deep, or below the frost line if your area’s prone to frost heaves.
Concrete Foundations
Mix your concrete following the manufacturer’s guidelines and pour into the post holes. This forms a solid base, ensuring longevity. You can buy ready mixed bags which only require you to add water or you can make your own, we usually use a ratio of 1 part cement, 2 parts sand, 4 parts stone ballast (aggregate by volume). Add your post stirrups at this point if you have opted to use them.
Aligning the Posts
Once your posts are in, it’s paramount to ensure they’re level and straight. Using a spirit level will make this task easier.
Step 3. Installing Beams and Rafters

Preparation
Before diving in, measure twice and cut once. This old adage will save you from any potential missteps. Based on your pergola’s design, cut your timber to the required lengths.
Mounting Beams
Your beams will run horizontally and rest atop your posts.
1. Start by marking the exact positions on your posts where the beams will lie. This helps in aligning them accurately.
2. When placing your beams, use a spirit level to ensure they sit perfectly horizontal. This will not only give a professional finish but also ensure structural integrity.
3. Prior to attaching the rafters, consider installing corner braces at each corner of your pergola. These braces will significantly enhance the stability of the structure. Secure them in place with suitable screws or fasteners.
Affixing Rafters
Now, onto the rafters, which will sit perpendicular to your beams.
1. Begin by deciding the spacing between your rafters. Remember, wider spaces will allow more sunlight to filter through, while tighter spacing offers increased shade.
2. To maintain consistent spacing between rafters, create a spacer. This can be a scrap piece of wood cut to your desired spacing length. By placing this between each rafter as you work, you’ll ensure an even layout throughout.
3. Attach each rafter securely to the beams, ensuring they’re perpendicular. Using the spacer, continue this process until all rafters are in place.
By meticulously following these steps, you’ll ensure that your pergola is not only visually appealing but also built to last.
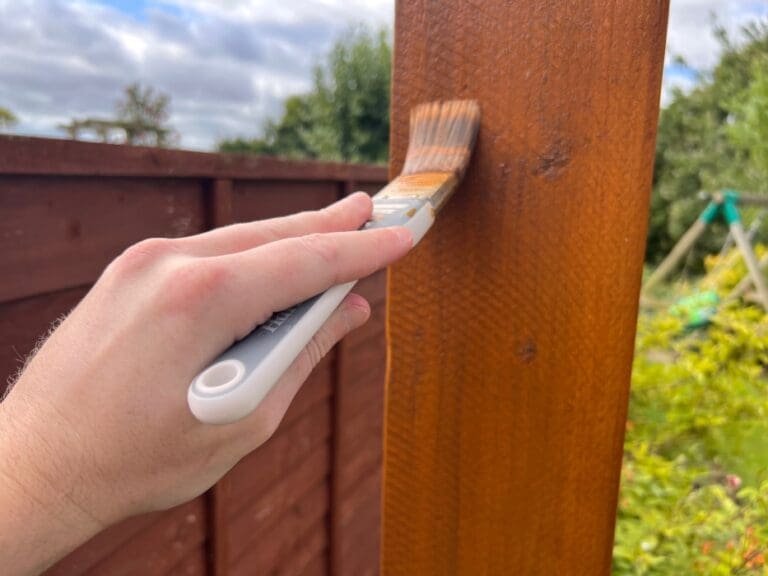
Step 4. Finishing
Smoothing Out
Sand down any rough edges or splinters for a polished look and to prevent injuries.
Protect and Beautify
Lastly, give your pergola a protective coat. Paint or stain not only shields against weather but also offers a chance to personalise the look of your structure.
With these steps, you’re well on your way to enjoying a homemade pergola that’s both aesthetically pleasing and budget friendly. Happy building!
Safety Tips

Every great DIY project keeps safety at its heart. As you embark on this pergola-building journey, bear in mind the following:
Protective Gear
Before you begin, make sure you’re kitted out properly. This includes durable gloves, safety glasses, and, if you’re using noisy equipment, ear protection.
Child and Pet-Free Zone
We all love a bit of company, but during construction, it’s best to ensure children and pets are at a safe distance. This will prevent any accidents and allow you to work without distractions.
Safety Disclaimer
Always prioritise safety when undertaking DIY projects. The guidelines and tips provided in this article are for informational purposes only and do not replace professional advice or judgement. Ensure you use appropriate safety gear, follow manufacturer’s instructions for tools and materials, and, if in doubt, consult a professional before proceeding. We are not responsible for any injuries or damages that may occur during your project. Proceed at your own risk.
Maintenance and Care
A pergola, like any outdoor structure, needs a bit of TLC to stand the test of time. Here’s how to keep yours in tip-top shape:
Preservation
To maintain the pergola’s charm, consider treatments that protect against pests, decay, and weather damage.
Sealants and Paints
A good quality sealant can help shield the wood from moisture, while paint provides an extra layer of protection and a chance to refresh its look.
Routine Checks
Every once in a while, especially after rough weather, give your pergola a once-over. Check for any loose components, signs of wear and tear, or areas that might need a touch-up.
Final thoughts
So, there we have it – your guide to crafting a delightful pergola without breaking the bank. Building it yourself not only saves a few quid but also offers a unique sense of accomplishment.
Whether it becomes a tranquil reading nook or the centrepiece of garden parties, it’s a testament to your effort and creativity. Dive in, personalise it, and above all, enjoy the many moments you’ll spend beneath its shade.
Related Posts
Frequently Asked Questions
Q: Is it cheaper to build your own pergola?
Building your own pergola can save you a significant amount compared to buying a pre-made kit or hiring professionals. By sourcing your own materials and investing a bit of elbow grease, you can manage costs more effectively.
Q: What is the cheapest material for a pergola?
Pressure-treated lumber is typically the most cost-effective choice for a pergola. While there are pricier alternatives like cedar or oak, pressure-treated wood offers durability at a more budget-friendly price point.
Q: Do you need permission to put up a pergola?
In the UK, pergolas are generally considered ‘permitted development’ and don’t usually require planning permission. However, there are exceptions, especially if you live in a listed building or conservation area. It’s always wise to check with your local council to be on the safe side.
Q: What is the point of a pergola?
Pergolas serve multiple purposes. They provide a defined space in your garden, offer shade, and can act as a support structure for climbing plants, creating a lush, natural canopy. Additionally, they’re a visual treat, adding aesthetic value to your outdoor space.
Q: Is building a pergola easy?
Building a pergola can be straightforward with the right preparation, tools, and a step-by-step guide. While it requires effort and attention to detail, even beginners can successfully create a sturdy and attractive pergola with a bit of patience.