Is your garden looking a bit tired and unloved? We’ve outlined 15 steps to help you bring your outdoor space back to looking its best, without spending vast amounts of money.
A well-maintained garden will enhance the appearance of your home, it can add value to your property, but most importantly it will provide an enjoyable space for you and your family.
Looking out over an unloved garden and wondering where to start can be overwhelming, and often results in people putting it off for another day. However, with a little bit of planning and effort you can revitalise your outdoor space quickly. You might not need to follow every step on our list, but by following most of them you will be able to bring your garden back to life.
So, grab your gardening gloves, and let’s get started!
15 steps to make your garden look nice on a budget
1. Remove any rubbish and debris
2. Remove dead and unwanted plants
3. Repaint fences, structures and furniture
4. Mow the lawn and neaten edges
5. Re-pot crowded container plants
6. Plant new containers and hanging baskets
7. Add new plants to your borders
8. Weed and mulch your borders
9. Consider adding a wildflower patch
10. Attract wildlife to your garden
11. Create a focal point
12. Refresh patio spaces
13. Repoint your patio
14. Add lighting
15. Organise and clean your tools
Disclaimer: If you buy something through our links, we may earn a commission, read our full disclaimer for more information.
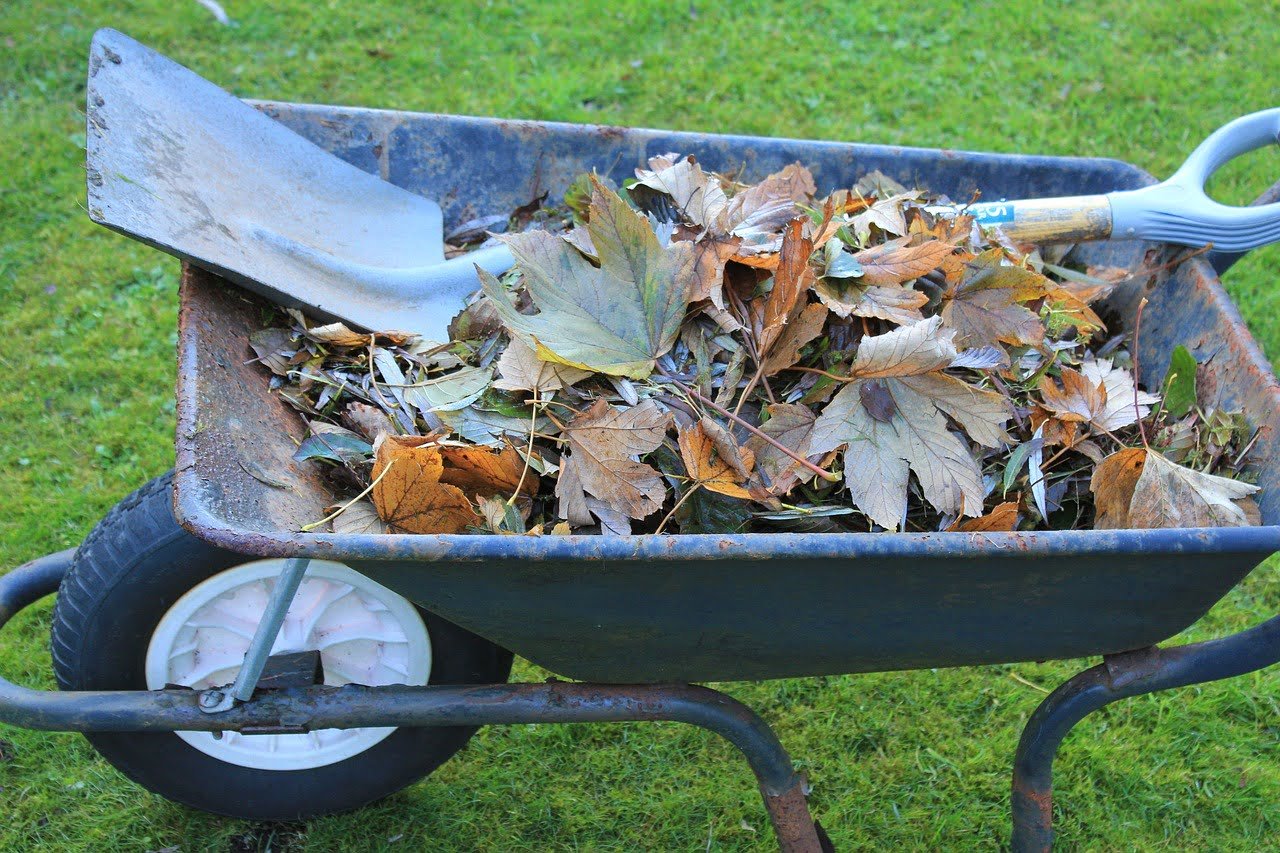
1. Remove any rubbish and debris
The first step towards bringing your garden back to its best, is to remove all rubbish and debris. If your garden hasn’t been used for some time, you may have accumulated a fair amount of rubbish, such as old outdoor toys, broken plant pots and damaged garden furniture. If getting started seems a little overwhelming, it can help to sort items into three separate piles.
• Items to sell – these items can help raise some cash for your garden renovation.
• Items to revamp – these might consist of things you can repurpose and bring back to life
• Items to dispose of – these are item to get rid of in order to clear some space
2. Remove dead and unwanted plants
The next step towards sprucing up your outdoor space is to remove any dead and unwanted plants from your garden. Be careful though, depending on the time of year, some plants could be in their dormant stage including perennials which will often die right back in winter and will burst into life during summer. This is also a good time to cut back any overgrown shrubs and prune trees.
3. Repaint fences, structures and furniture
Once you have cleared your garden of rubbish and unwanted plants, the next step is to give your fences, structures, and furniture a fresh lick of paint or varnish. Large 5 litre tubs of Ronseal one coat fence paint can be bought relatively cheaply and should cover approximately 30m2.
In order to rejuvenate outdoor wooden furniture, you will first need to clean them down using some mild detergent and hot water. Let the furniture dry completely before sanding down using a fine grit sandpaper to smooth out any rough and uneven areas. Always sand in the direction of the grain, this process will help your paint or varnish to apply better so take your time with sanding. Next, apply your chosen paint or stain to the furniture and make sure it is applicable for outdoor use.
If you’re looking to restore any metal furniture which may have become rusty, you will first need to remove as much rust as possible using a wire brush or steel wool. Clean the metal using some mild detergent and warm water before letting your furniture dry off completely. For any stubborn rust you may need to apply rust remover. You will then be able to apply a coat of paint to bring your old furniture back to life.
Please note: these steps should be taken as a guide, and you should always follow the application instructions of your chosen paints and varnishes.
4. Mow the lawn and neaten edges

At this point, your garden should be looking a lot tidier. The next step is to mow the lawn and neaten the edges. If your lawn hasn’t been mown for a long time and has become extremely overgrown, you may need to use a strimmer before running the mower over it on its highest setting. Another option when mowing your lawn is to leave an area overgrown. This can feel counter-intuitive when you are trying to tidy up your garden, but a small area of longer grass is actually very beneficial to wildlife and can increase biodiversity in your garden. For more information check out our ‘No Mow May’ blog post. Edges can be neatened up using a half moon edging tool to create a crisp edge. Its amazing how much of an impact having sharp crisp edges can have on the overall appearance of your garden.
5. Re-pot crowded container plants
It’s time to turn your attention to your pots and containers which are likely to be looking a bit tired. Before going out and buying more plants, it is worthwhile re-potting any of your existing container plants that have become too large or overcrowded. You may choose to re-pot them in a large container, alternatively, you might be able to plant some out in the garden in a suitable position.
6. Plant new containers and hanging baskets
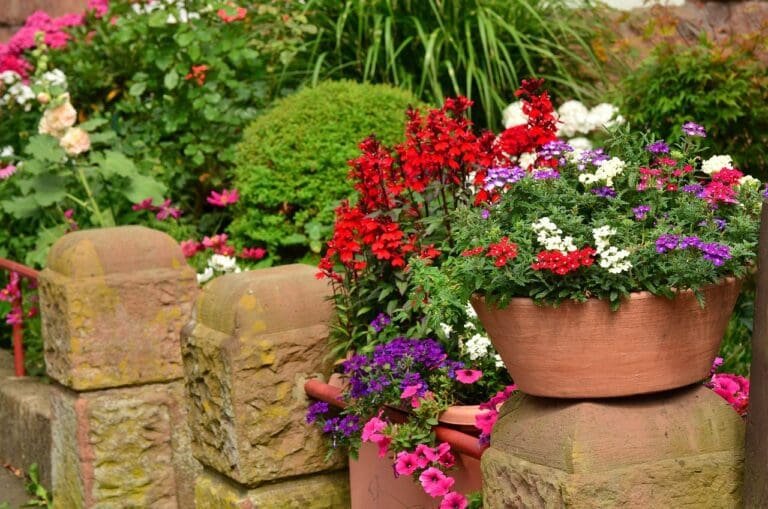
Hanging baskets and containers are a great way to add some colour to your outdoor space. When choosing plants for your containers and hanging baskets try to incorporate the 3 following types of plants.
• Thrillers – these plants should add colour and interest to your pots and baskets.
• Fillers – these plants should provide some contrast and structure.
• Spillers – these plants will have a trailing habit which will flow over the edge of your pots and baskets.
10 Plants for Summer Hanging Baskets in the UK
10 Plants for Creating Stunning Winter Pots and Containers
7. Add new plants to your borders
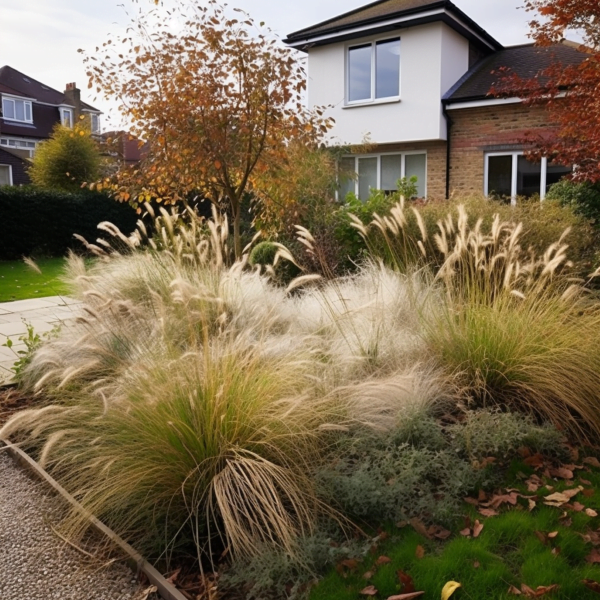
Once you have cleared away any debris, painted your fences and refreshed your containers, it’s time to turn your attention to your garden borders. The plants you choose will depend on your conditions and the style of garden that you would like to create. You might be considering a formal style, with neatly clipped evergreens or perhaps you’re looking for a more naturalistic style garden comprised of ornamental grasses and perennials. We have lots of articles across this website to help you choose the right plant for the right place, including –
• Plants to attract bees and butterflies
• Plants for shaded areas
• Drought tolerant plants
• Low maintenance plants
• Best ornamental grasses for naturalistic gardens
• Best perennials for naturalistic gardens
If you’re on a tight budget, you might decide to grow your own plants from seed. Another option if you want to speed up the process, is to order bare root plants online which are typically cheaper than fully potted up plants you will find in your local garden centre.
8. Weed and mulch your borders
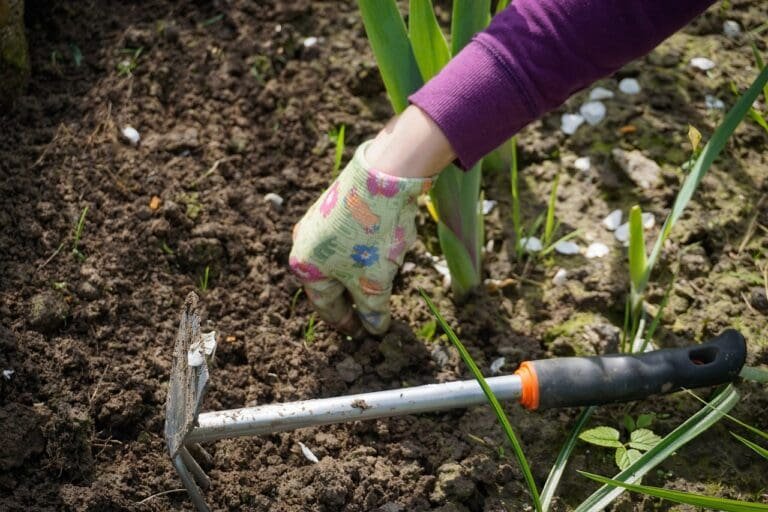
Whilst planting up your borders, be sure to remove any perennial weeds. In order to prevent weeds from returning, one tip is to plant densely in order to reduce the amount of bare soil and minimise the opportunity for weeds to seed. Another great way to reduce weeds is to mulch your garden borders. There are different types of mulch to choose from but the most common is to use a thick layer of bark or a more permanent solution would be to use gravel. If using gravel around your plants, it is recommended to put down a layer of landscape fabric first which will help supress any weeds.
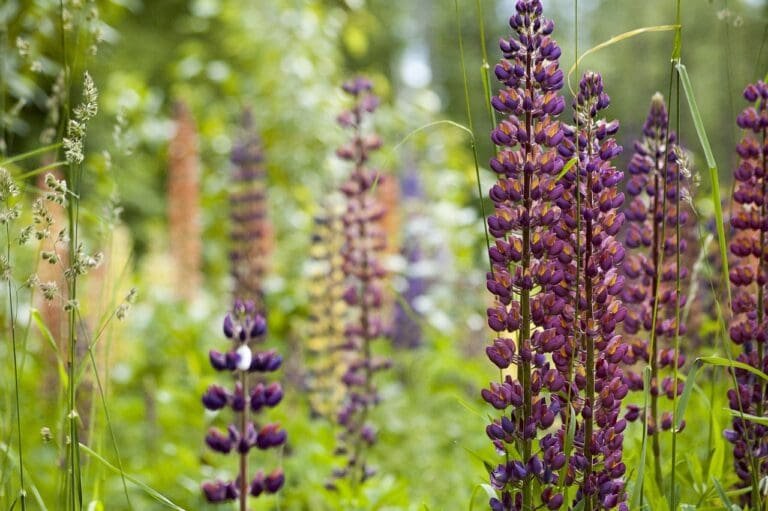
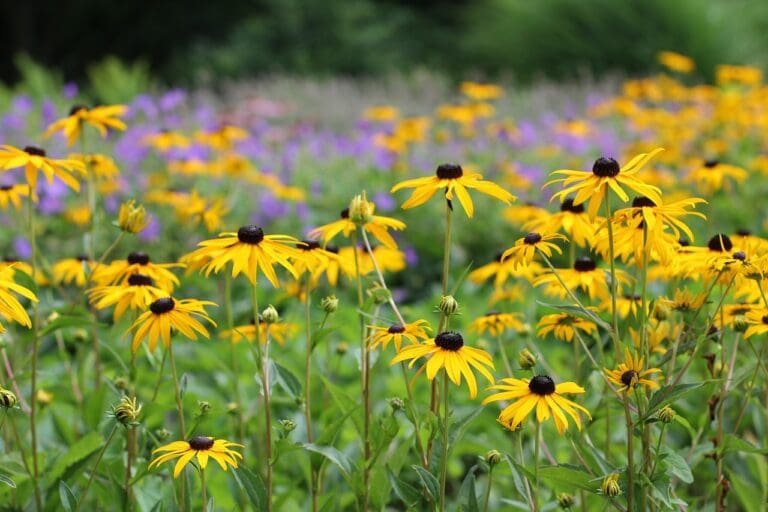
9. Consider adding a wildflower patch
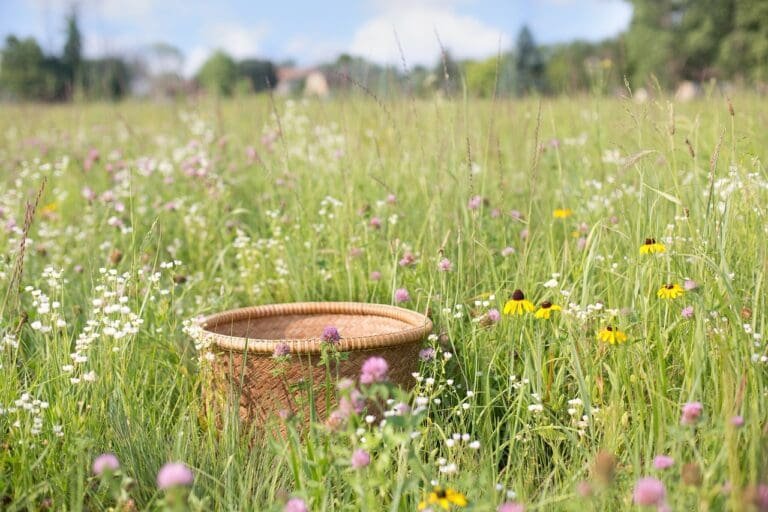
Adding a wildflower patch to your garden is a beautiful way to increase biodiversity, attract masses of pollinators and can also require less ongoing maintenance. Whether it be an area of your lawn, an unused garden bed or even just a large container, be sure to choose a spot that receives at least 6 hours of direct sun per day. For more information of starting your own wildflower patch, read our helpful ‘How to create a wildflower patch in your garden’ blog post.
10. Attract wildlife to your garden

Making your garden appealing to wildlife can help give your garden a buzz (literally) and make it feel alive. There are a wide range of ways to attract more wildlife to your garden including providing a water source, providing shelter, providing food and planting plants that will attract pollinators.
If you’re on a tight budget, a couple of the easiest things you can do to attract birds is to hang a new birdfeeder and provide them with some fresh water which could be in the form of a bird bath, or even just a simple container topped up with fresh water.
6 Ways to attract wildlife to your garden
11. Create a focal point
Creating a focal point in your garden is a technique used by professional garden designers to add year-round interest, to draw the eye to a specific area and often to make a garden look bigger. First choose where you would like your focal point to be, this could be an area visible from a window, the very end of your garden, a bare wall or perhaps a view you would like to frame. You could use a statue, sculpture, water feature or a tree to help draw people’s attention.
12. Refresh patio spaces
Over time, patios can become dirty and lose their colour. To restore your patio, first prepare the area, removing furniture, plants and other objects. Sweep away any loose debris such as leaves and grass clippings. Next, set up a jetwash, most now come with a patio cleaning head attachment which will scrub your patio in a circular motion as you go and are great at preventing water from spraying everywhere. If you have any stubborn patio stains, it may be worthwhile applying a patio cleaning solution before jet washing. Rinse your patio down after finishing and allow to dry fully before using.
Please note: these steps should be taken as a guide, and you should always follow the application instructions when using potentially harmful substances such as patio cleaner and always refer to the operating instruction of your specific jetwash.
13. Repoint your patio
Repointing a patio is the process of removing and replacing the mortar between patio pavers or stones in order to improve the structural integrity and improve the appearance of the patio. The first step to repointing your patio is to remove the old crumbling mortar from between your pavers. To do this, use a hammer and chisel whilst wearing eye protection. Usually, the old mortar will come out very easily depending on its condition. Next, clean out the joints using a stiff brush before mixing the new mortar. You can purchase premixed mortar if you are doing a small area, otherwise it is probably best to mix your own. A typical mortar mix for pointing a patio is 1 part cement to 3 parts sand with a splash of water. Mix thoroughly and apply the mortar using a trowel, filling the joints completely before smoothing off using a pointing trowel. Allow your mortar to dry completely before using the patio.
Please note: if you are not confident to carry out this work yourself, it is always best to hire a professional.
14. Add lighting

Adding lighting to your garden is a great way to add some ambience to your outdoor space which can make it a great place to relax and entertain on an evening. Lighting can also be used to highlight features in your garden, for example using spotlights under trees, sculptures, and structures. Good lighting can also help make your garden safer by highlighting any raised steps or the edges of pathways. Solar lighting has improved a lot in recent years and can be very effective especially on a tight budget. If you are looking to invest in a longer-term lighting solution for your garden then having a mains powered set up, connected to a timer or smart system is worth considering.
15. Organise and clean your tools
Finally, now your garden is back to its best, you should clean down your tools and get them organised. This can help you keep up with the on-going maintenance of your garden. I recently invested in a tool storage organiser rack from amazon which didn’t cost much but has really helped keep my tools organised which makes it easier to stay on top of the gardening.
Related posts
14 Beautiful Low Maintenance Plants to add to your Garden this Year