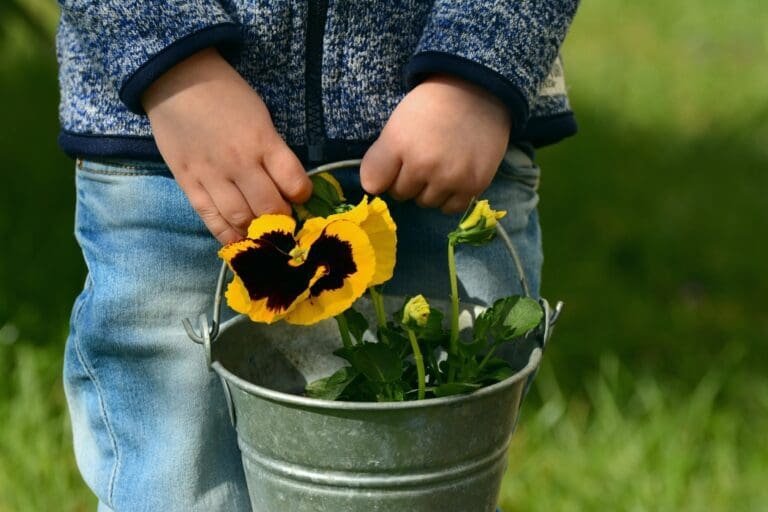
Cress is an ideal first crop for young children to grow. It’s quick to germinate and can be grown indoors any time of the year, making it perfect for little gardeners. Starting a cress head project is not only fun but also a great way for kids to learn about growing their own food.
In this post, we’ll walk you through a simple step-by-step guide to growing your own cress heads using these everyday household items.
Affiliate Disclaimer: As an Amazon Associate, I earn from qualifying purchases.
You might also be interested in: How to Make Wildflower Seed Bombs
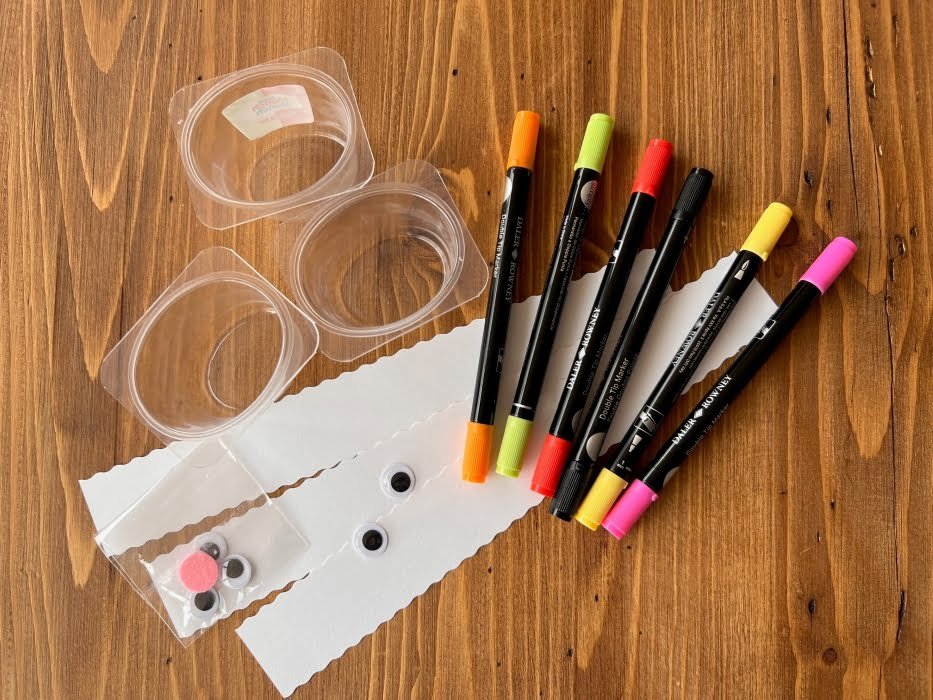
You Will need
- Empty yoghurt pots
- Cotton wool
- Cress seed
- Decorating supplies (coloured card, felt tips, googly eyes, and so on)


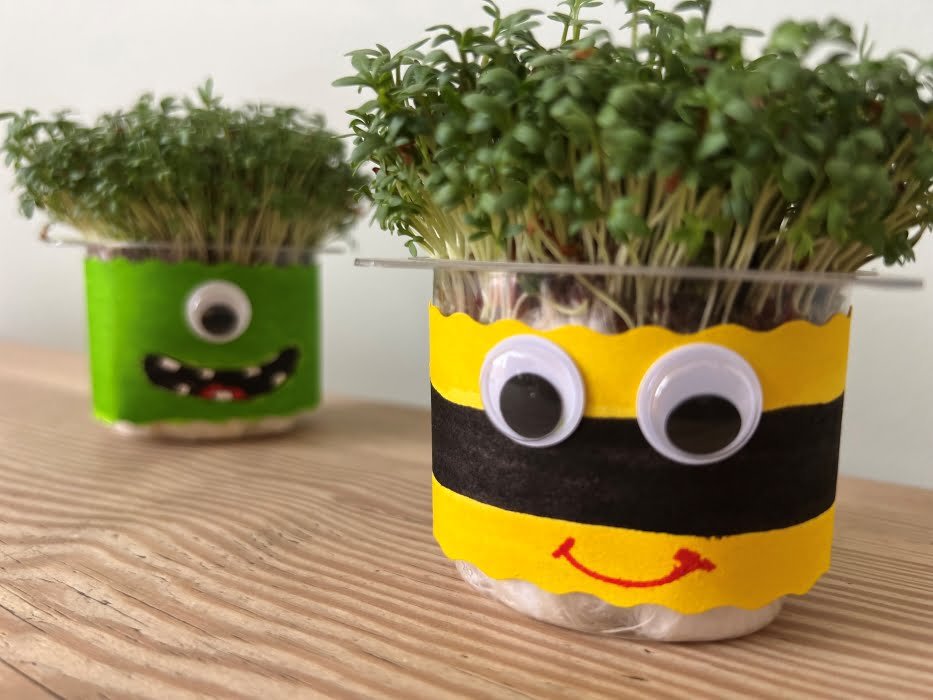
Step 1 – Decorate Your Pots
Before we start planting, let’s add a splash of fun to your yogurt pots. First, give them a thorough wash and peel off any labels. Now, it’s time to get creative and bring those pots to life! You can paint the pots with bright, cheerful colours or draw funny faces on coloured card and wrap it around your pot.
This is a fantastic opportunity to let your imagination run wild and enjoy some quality time with the kids. How about creating a ‘cress zoo’ with animal-themed pots? Or maybe a line-up of cress heads that look like your family members? The possibilities are endless, and it’s all about having fun and making memories.
Step 2 – Prepare Your Cotton Wool
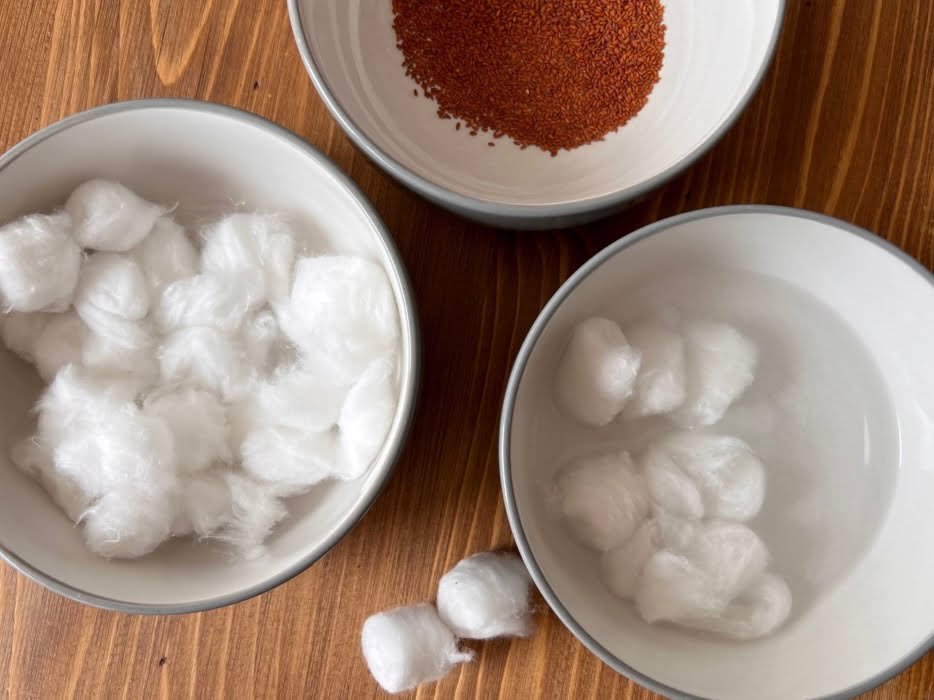
Now that your pots are looking fabulous, it’s time to get the cotton wool ready. The great thing about cress is that it’s not fussy about nutrients, so we can leave the soil behind. Cotton wool provides the perfect cosy bed for the roots of your cress seeds as they begin to sprout.
Start by wetting the cotton wool balls. Then, gently squeeze them to remove any excess water – we want them moist, not soaking wet. Next, place the cotton wool in your decorated yogurt pots, filling them to about three-quarters full. This creates the ideal environment for your cress seeds to start their journey.
Step 3 – Sow Your Cress Seed
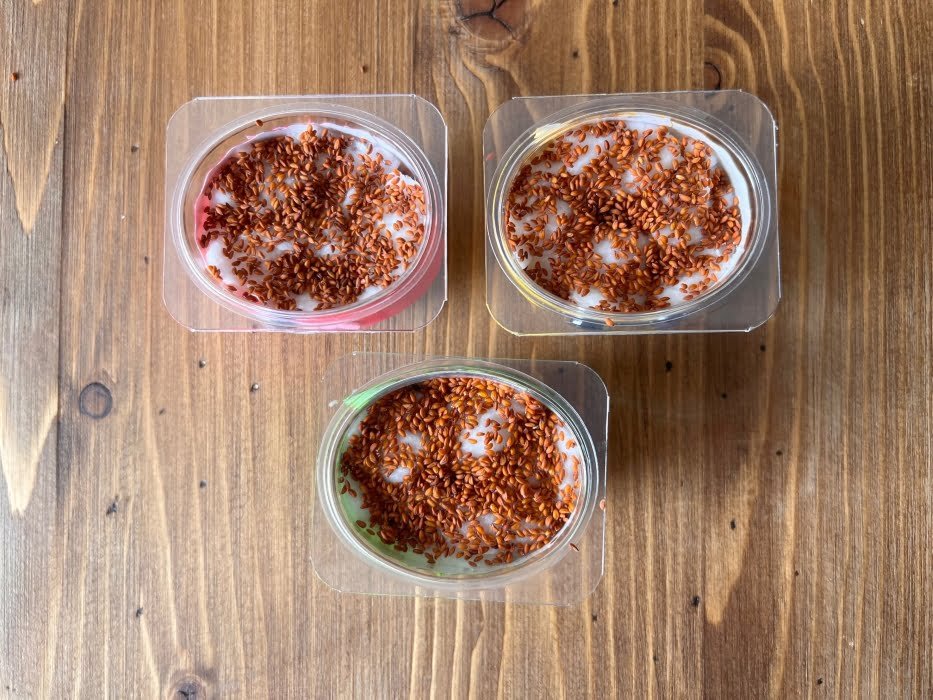
It’s time for the most exciting part – sowing your cress seeds! This is where you’ll start to see the magic of gardening come to life.
Gently sprinkle a good number of seeds over the top of the moist cotton wool in each pot. Then, with a light touch, press the seeds into the cotton wool. This simple step ensures that the seeds make good contact with the damp cotton wool, setting the stage for them to begin their growth journey. Remember, this part doesn’t require too much pressure – just enough to nestle the seeds into their new home.
Top Tip – Don’t overwater your cress – a bit of moisture is all it needs, so keep the cotton wool damp rather than soaked to avoid waterlogging your seeds.
Step 4 – Find a Sunny Spot

Now that your cress seeds are snugly sown, it’s time to find them a sunny home indoors. A windowsill that gets plenty of light is an ideal spot. This bit of sunshine is just what your seeds need to get the message that it’s time to start growing. You’ll be amazed at how quickly they respond – usually beginning to germinate within just a couple of days. In about a week, you’ll see them sprouting up, ready to greet the world.
Keep an eye on the moisture level of the cotton wool. If it starts to look a bit dry, just give it a small spoonful of water. Cress seeds don’t need a lot of water, so a little goes a long way. Just enough to keep the cotton wool damp will perfectly do the trick.
Step 5 – Harvest Your Cress!
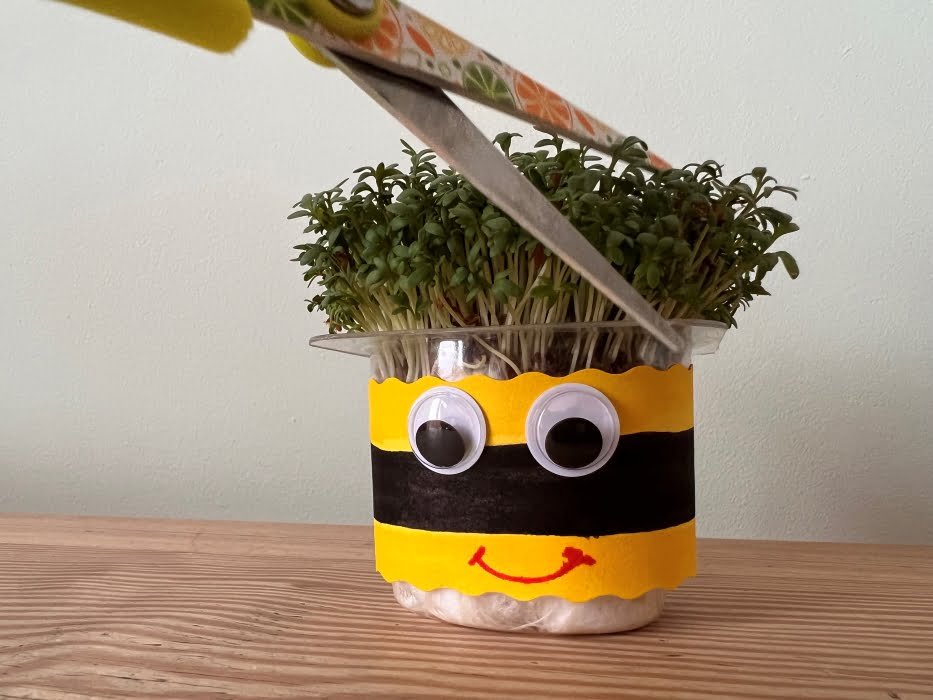
The exciting moment has finally arrived – your cress is ready to harvest! Once you see that your cress has grown enough, it’s time to gather your little crop. Just grab some scissors and gently snip the cress right above the cotton wool. It’s that simple!
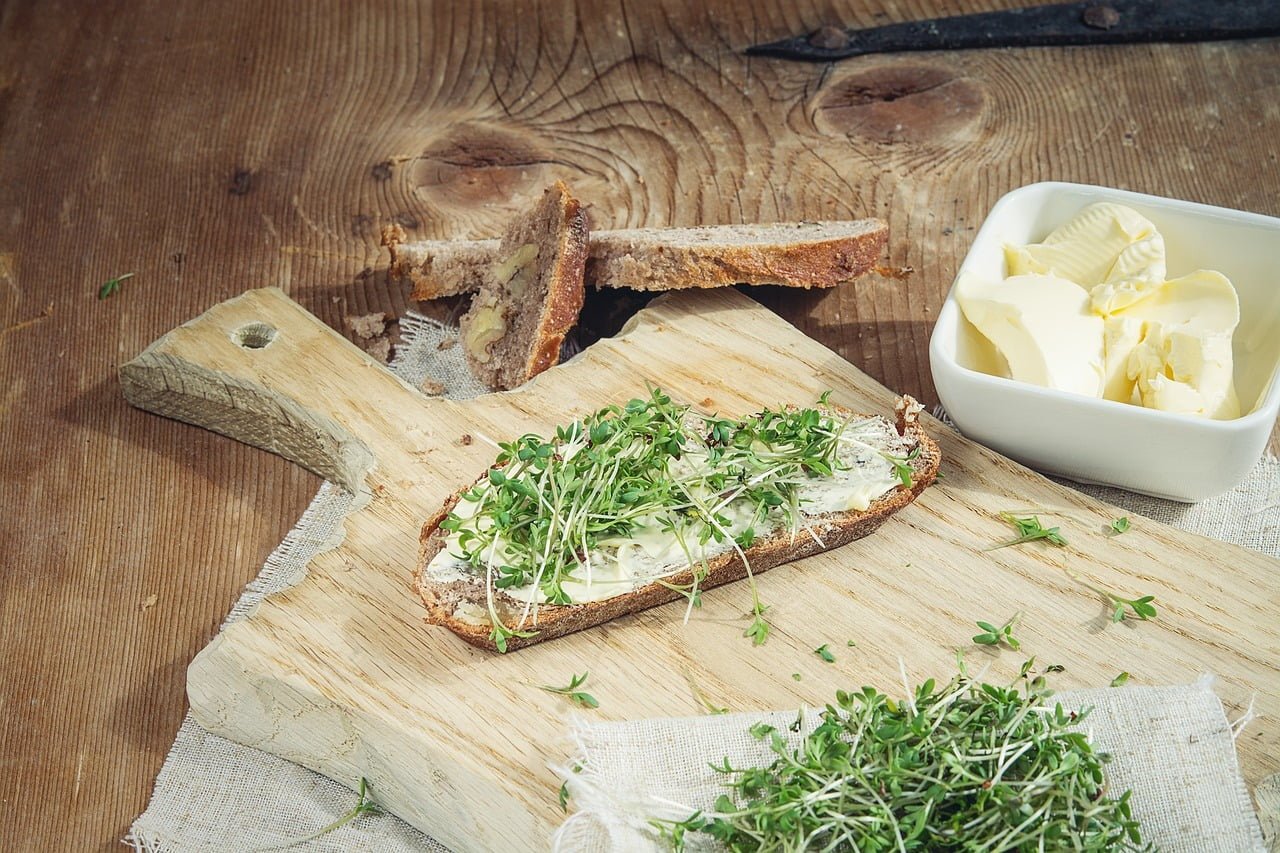
This is a moment children will adore – tasting the cress they’ve grown themselves. It’s a great way to introduce them to the joys of gardening and the deliciousness of fresh, home-grown produce. Sprinkle your freshly harvested cress over a sandwich or mix it into a salad for a lovely peppery flavour. It’s a small but satisfying way to enjoy the fruits of your gardening labour.
Show Us Your Cress Heads!
We absolutely adore seeing the creativity and fun you bring to your gardening projects. So, once you’ve followed our guide and have a delightful set of sprouting cress heads, why not show them off to the world?
Did you end up with a mini zoo of cress animals? Or perhaps a family of quirky cress faces? Maybe you even went all out and created a cress-head football team! Whatever your design, we’re excited to see it. Each creation is a source of inspiration, showcasing the unique flair each gardener brings to their project.
We’d be thrilled if you could share pictures of your homemade cress heads with us. Feel free to email your photos directly to us here. If you’re happy for us to do so, we’d love to feature your cress masterpieces in our Reader’s Cress Gallery. Your imaginative designs might just spark ideas in other readers, spreading the joy of gardening even further!
Recipe Ideas with Home-Grown Cress
Once you’ve grown your beautiful cress, you might be wondering how to enjoy it. Here are a few quick, easy, and delicious ideas:
Classic Egg and Cress Sandwich
Mash some boiled eggs with a bit of mayo, add salt and pepper to taste, then sprinkle your fresh cress on top. Perfect for a simple, wholesome lunch!
Cress and Cream Cheese Bagel
Spread some cream cheese on a toasted bagel, then top with a handful of cress for a peppery kick.
Cress Salad
Toss your cress with other salad leaves, cherry tomatoes, cucumber, and your favourite dressing for a quick and healthy side dish.
Soup Garnish
Sprinkle cress onto tomato soup or any other cream-based soup to add a bit of fresh, peppery flavour.
Cress and Avocado Toast
Mash some avocado onto toast, add a pinch of salt, and then scatter your home-grown cress on top.
FAQs – Making Cress Heads
Q: How long does cress take to grow?
Cress is wonderfully quick to grow! From the moment you sow the seeds, you can expect to see germination (that’s when the seed sprouts) within a couple of days. In general, your cress should be ready to harvest within a week to ten days.
Q. Does cress regrow after cutting?
Cress is a cut-and-come-again crop. This means that after your initial harvest, if you leave the roots intact, it can regrow. However, do bear in mind that subsequent growths may not be as lush or as flavoursome as the first. For the best results, it’s often recommended to start afresh with new seeds after each harvest.
Q. Why can cress grow without soil?
Cress seeds are able to germinate and grow without soil because they are packed with enough nutrients to start life. They simply need water and light to kick-start the process of photosynthesis, the process plants use to convert light into energy. The cotton wool provides a damp and supportive environment for the seed to sprout and the roots to grow. However, if you wanted your cress to grow into a larger plant, then it would require soil or compost, as this would provide the additional nutrients needed for prolonged growth.