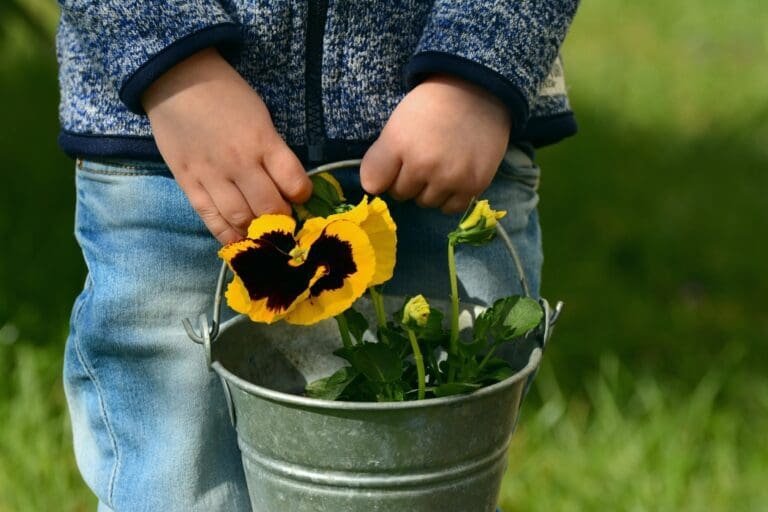
Creating your own wildflower seed bombs is not only a simple and enjoyable activity but also a fantastic way to involve children in gardening. These little seed bombs are easy to make and are perfect for bringing a burst of life and color to those overlooked corners of your garden or local community spaces.
At their core, seed bombs are small balls crafted from a blend of clay, compost, and wildflower seeds. They’re designed to be effortlessly tossed into hard-to-reach areas of your garden, transforming them into vibrant wildflower spots. You can also plant these seed bombs in pots and containers, creating charming mini wildflower gardens right on your balcony or patio.
You may also be interested in: How to Make Cress Heads with Cotton Wool
Top Tip – Always choose native wildflower seeds for your seed bombs to support local ecosystems, promote biodiversity, and increase the chances of successful germination.
To Make Your Seed Bombs You Will Need

- Native wildflower seeds
- Dry clay or clay powder
- Peat-free compost
- A touch of water
- Flower petals (optional for a splash of colour)
- A large mixing bowl
Step 1 – Mix Your Ingredients
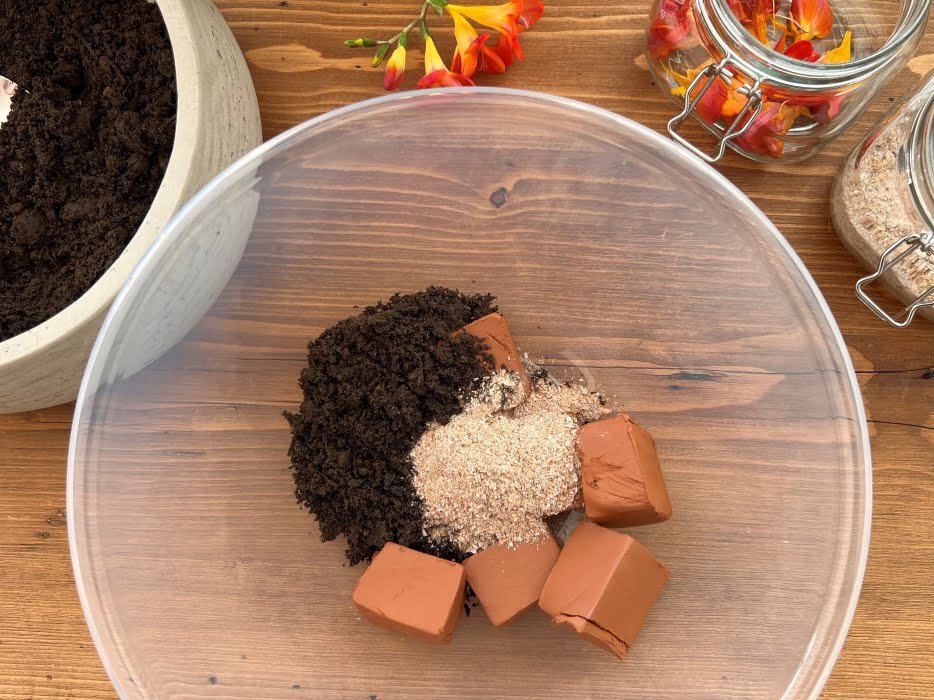
Kick off your seed bomb adventure by gathering your clay, compost, and wildflower seeds. You’ll need a bucket or a large mixing bowl for this part. A good rule of thumb is to use a 3:1 ratio of clay to compost. While precision isn’t crucial, a bit more clay in the mix helps to bind everything together nicely.
Step 2 – Add Water and Mix With Your Hands
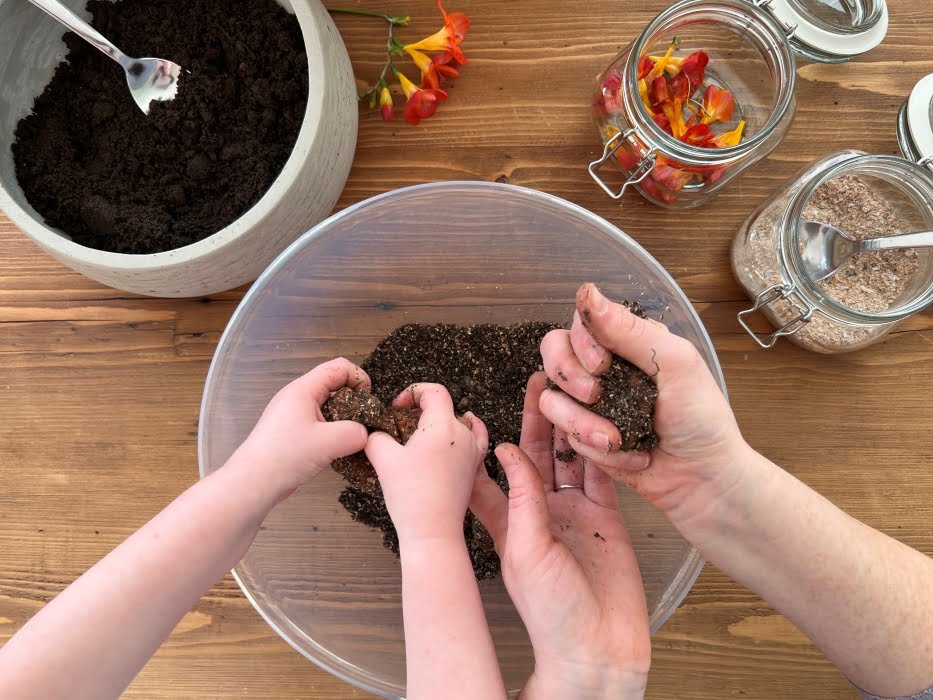
Now it’s time to add a bit of water to your mixture. This part is often a hit with the kids, as they get to dive in with their hands and mix everything into a sticky dough. It’s all about getting a little messy and having fun!
Add the water slowly and mix as you go. You’re aiming for a consistency that holds together but isn’t too wet. If you find you’ve added a bit too much water, no worries at all – just sprinkle in a little more compost to get the right balance. This is a great opportunity for kids to learn about textures and consistency while enjoying the tactile experience.
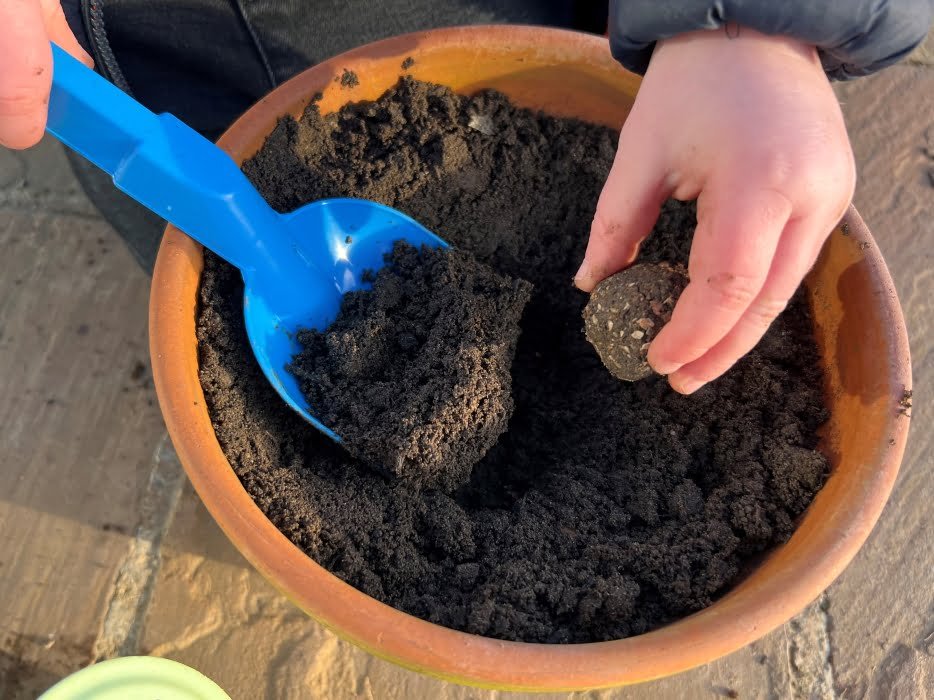
Step 3 – Roll The Mixture Into Balls

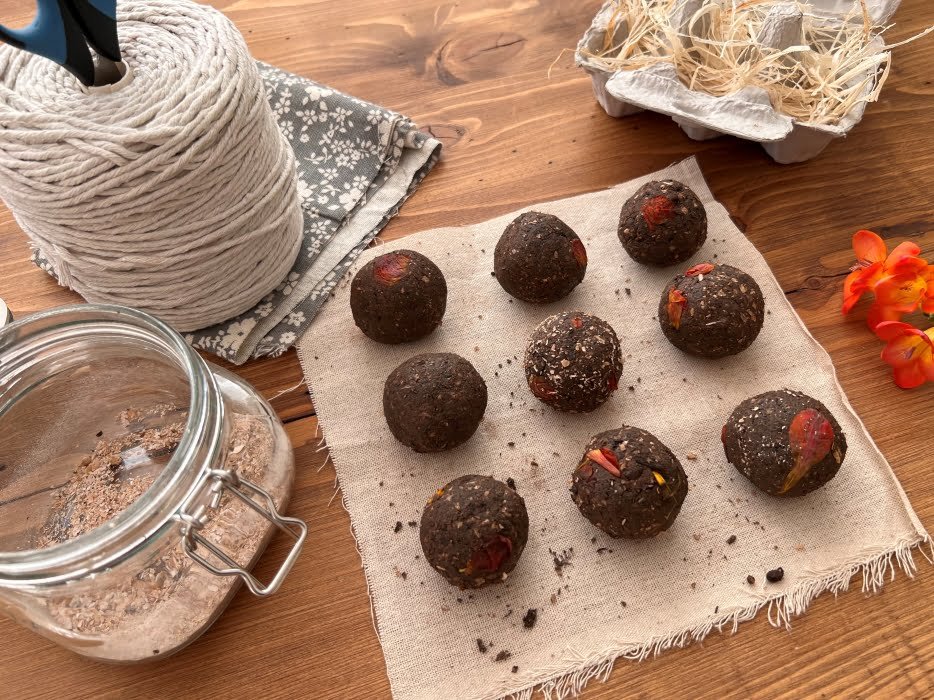
When your mixture has achieved that perfect sticky consistency, with the seeds evenly distributed throughout the clay and compost, you’re ready for the fun part – shaping them into small balls. Aim for about an inch in diameter, which is a great size for handling and storing. An easy storage tip is to use egg boxes, which fit these little seed bombs perfectly.
For an added touch of whimsy, why not roll your seed bombs in some faded flower petals? This not only adds a splash of color but also makes each seed bomb uniquely beautiful. It’s a delightful way to bring a bit of extra charm to your seed bombs, making them even more special.
Step 4 – Package Them Up

If you’re not planning to use your seed bombs right away, it’s important to let them dry out first. Once they’re dry, store them in a cool, dry place until you’re ready to use them. This helps preserve them for when you’re ready to bring some color to your garden or community space.
We also love the idea of sharing the joy of gardening by gifting some of these seed bombs to friends, family, and neighbors. For a charming and eco-friendly touch, use empty egg boxes as packaging. This is another great opportunity for kids to get creative. They can have fun decorating the boxes, crafting handmade labels, or even designing planting instructions on the computer. It’s a wonderful way to spread a little love and greenery, and it makes for a thoughtful, personalized gift.
Step 5 – Plant!
Now that your seed bombs are ready, it’s time to bring them to life. You can simply toss them into your chosen spots in the garden and let nature do the rest. If you prefer a more controlled setting, planting them in pots and containers works just as well.
While we shared many of our seed bombs, we kept a few to plant in small pots near our sunny kitchen window. The anticipation of watching those wildflowers sprout and bloom is genuinely exhilarating. It’s a waiting game that’s filled with excitement and wonder, especially as you see the first signs of growth.
Creating wildflower seed bombs is more than just a gardening activity. It’s a way to encourage local wildlife, craft thoughtful gifts, and spend quality time with the kids. So why not give it a try? Remember, it’s not just about the seed bombs themselves; it’s about the memories and experiences you create along the way.
Troubleshooting Common Seed Bomb Challenges
Seed bombing is a simple and fun activity, but sometimes things don’t go as planned. Here are some common issues you might encounter and tips on how to overcome them:
1. Mold Development
- If mold appears on your seed bombs, they might be too moist or stored in an area without enough ventilation. Make sure to let your seed bombs dry completely before storing. If they’re already molded, it’s best to discard them and start over.
2. Poor Germination
- Not seeing sprouts? This could be due to insufficient water or old seeds. Use fresh seeds for your bombs and ensure they receive enough water, particularly during the initial weeks.
3. Pest Problems
- If birds or rodents are feasting on your seed bombs, try mixing some red pepper flakes into your seed bomb mixture. This can deter many pests without harming the plants.
4. Seed Bombs Don’t Break Down
- If your seed bombs aren’t breaking down, they might have too much clay. Stick to the recommended 3:1 ratio of clay to compost and use a type of clay that disintegrates easily, like pottery clay or natural clay.
5. No Flowers
- If your seed bombs aren’t flowering, the issue might be insufficient sunlight or unsuitable wildflower species for your area. Choose native wildflower seeds and plant your seed bombs in spots that meet the sunlight requirements of the seeds.
Patience is essential with seed bombing. Not every bomb will yield results, but the joy lies in the process and the positive impact you’re making. Each flower that blooms from a seed bomb is a celebration of nature’s resilience and a small victory for biodiversity.
FAQs – Making Wildflower Seed Bombs
Q. Do wildflower seed bombs work?
Absolutely! Wildflower seed bombs are a wonderful way to help nature along by introducing beautiful and beneficial plants to your local environment. They can transform hard-to-reach or overlooked garden areas into vibrant flower patches. The key is to use fresh, native seeds and to plant the seed bombs in the right conditions – they need plenty of sunlight and water to germinate successfully.
Q. How do you make wildflower seed bombs without clay?
Yes, you can! If you don’t have access to clay, you can use flour or even paper. For a flour seed bomb, substitute the clay with flour in the same proportion. For a paper seed bomb, shred waste paper, soak it in water until it becomes pulp, then mix in your seeds and compost. Roll them into small balls, and you have eco-friendly, paper seed bombs!
Q. Do seed bombs grow every year?
Many wildflowers are perennial, meaning they can grow back every year, while others are annuals, which will reseed themselves. The growth of seed bombs also depends on the species of flowers in your seed mix and their compatibility with your local climate and soil. It’s best to research the specific flowers you’re planting for more accurate expectations.
Q. Can you make seed bombs with any seeds?
While it’s technically possible to make seed bombs with any seeds, it’s always best to use native wildflower seeds. Native species are adapted to local climates and soils, promote biodiversity, and provide food and habitats for local wildlife. Non-native or invasive species may outcompete local plants and upset ecological balance.
Q. How do you make pretty seed bombs?
To make your seed bombs visually appealing, you can roll your seed bombs in dried flower petals as a final step. This not only adds a pop of colour but also makes each seed bomb unique. Additionally, you can mold your seed bombs using silicone molds to create different shapes like hearts, stars, or even animals. Remember, if you’re gifting them, packaging matters – consider decorating the box or container for a personal touch.