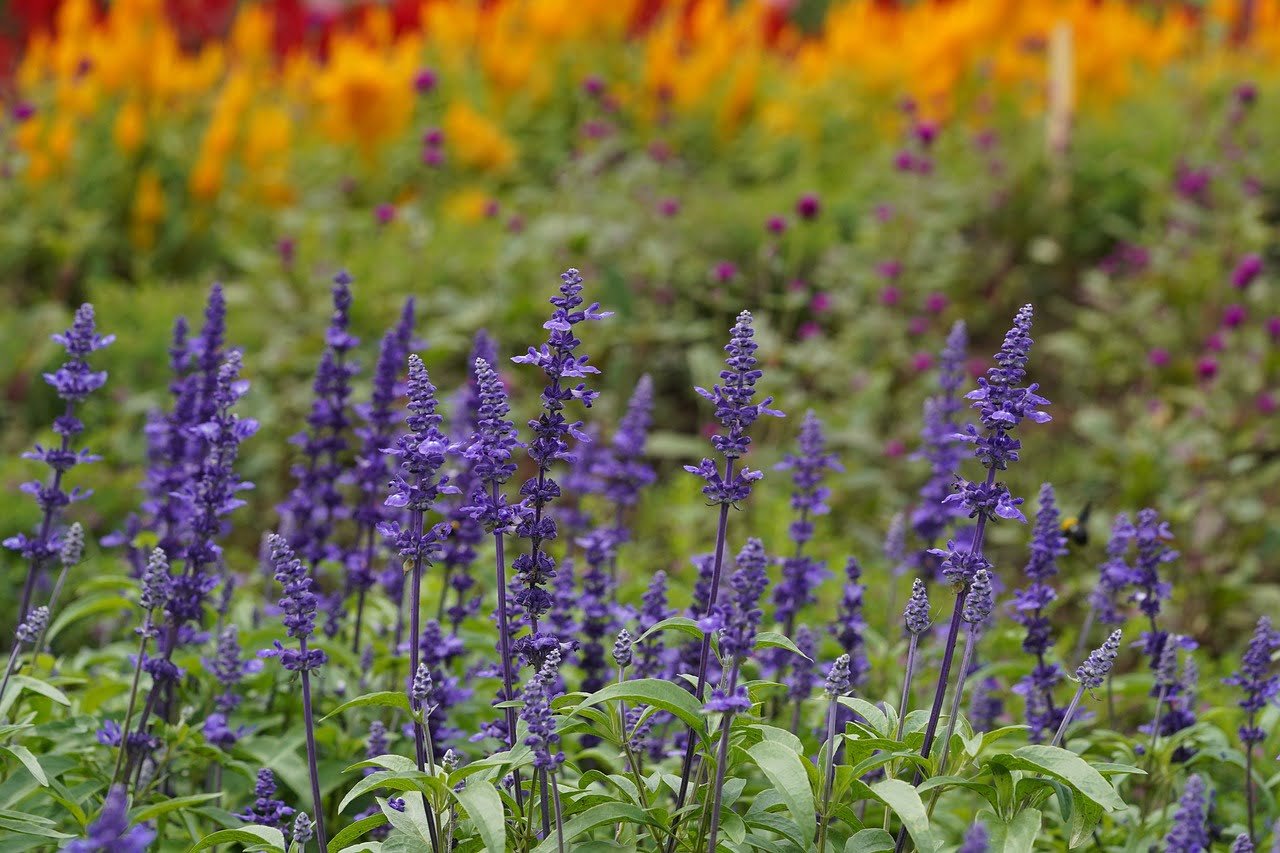
What are bare-root perennial plants?
Bare-root perennials are plants which are sold and distributed with their roots exposed, without soil, during their dormant period whilst they are not actively growing.
Buying bare root plants has many advantages over buying potted plants or growing plants from seed.
This post outlines the benefits of using bare-root perennials and gives a step-by-step guide of how to use them to help transform your garden quickly without breaking the bank.

What are the benefits of growing bare-root perennials?
Hardy bare-root perennials are becoming more popular amongst gardeners because they are a cost-effective method to buy plants which will return year after year. They’re cheaper than buying potted plants from your local garden centre and are faster than growing them from seed.
Potted plants are usually more expensive than buying bare-root perennials due to the months of care required, the soil needed, packaging requirements, and the transportation of the plants, all of which is then reflected in their price.
Another advantage of buying bare-root perennials is that they typically have larger root systems than potted plants sold in garden centres and can therefore be quicker to establish in your garden.
Step by Step – How to grow bare-root perennial plants
Step 1 – Plan and Order
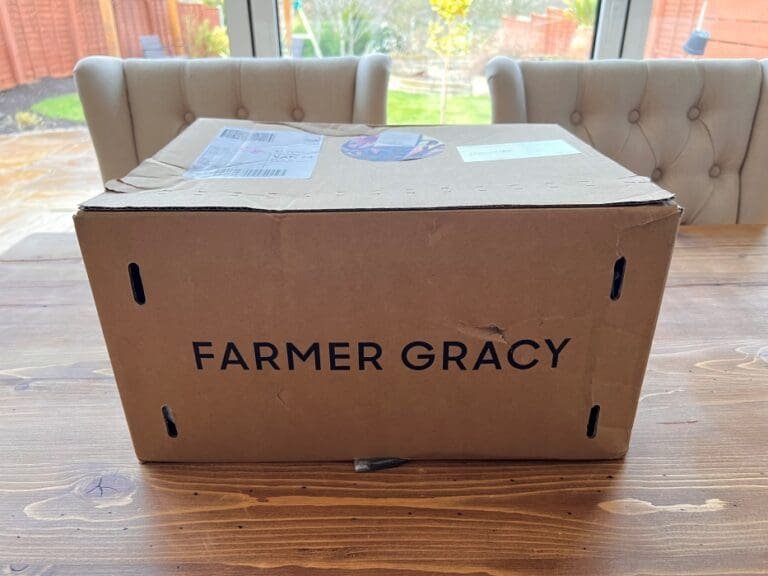
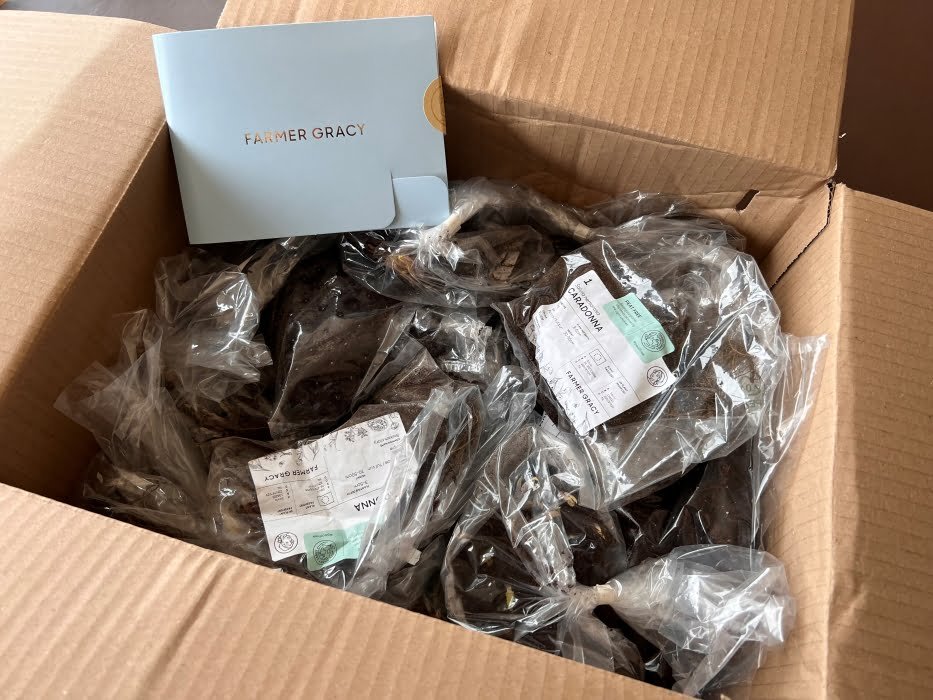
Before ordering your bare-root perennial plants you will need to calculate how many you will need. We were replanting most of our garden therefore we found it useful to create a rough sketch to help us visualise which plants would go where and how many we would need.
We wanted to create a naturalistic style garden, so we knew we would need various flowing perennial plants mixed among ornamental grasses. When choosing your plants, consider the conditions of each area of your garden. Ours is south facing, and therefore mostly full sun but has an area of partial shade with moist clay soil on the left-hand side which we needed to take into consideration in order to get the right plant for the right place.
Consider the final height and spread of plants, larger plants will typically go towards the back of a border whilst smaller or ground covering plants will go towards the front. After lots of deliberation, we decided upon some Salvias, Echinacea’s and Astilbe with some ornamental grasses including Panicum ‘Shenandoah’ and Pennisetum ‘Fairy Tails’ – which were all ordered online from farmergracy.co.uk
Once you have established how many bare root perennials you will need and which varieties you are going to use you can place your order, you should then receive an approximate delivery timeframe which is usually early spring.
Step 2 – Soak
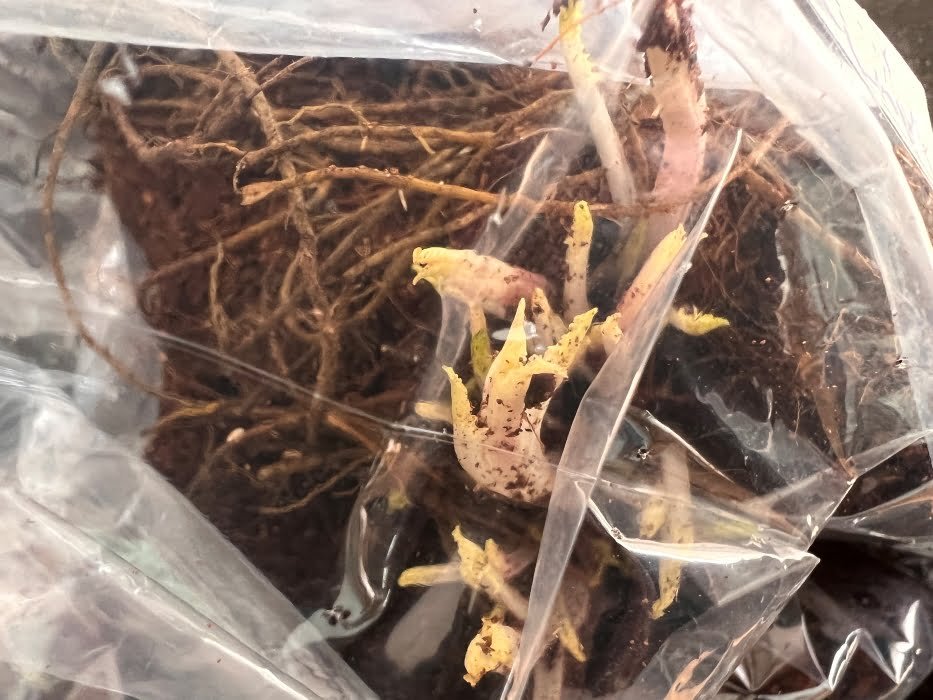
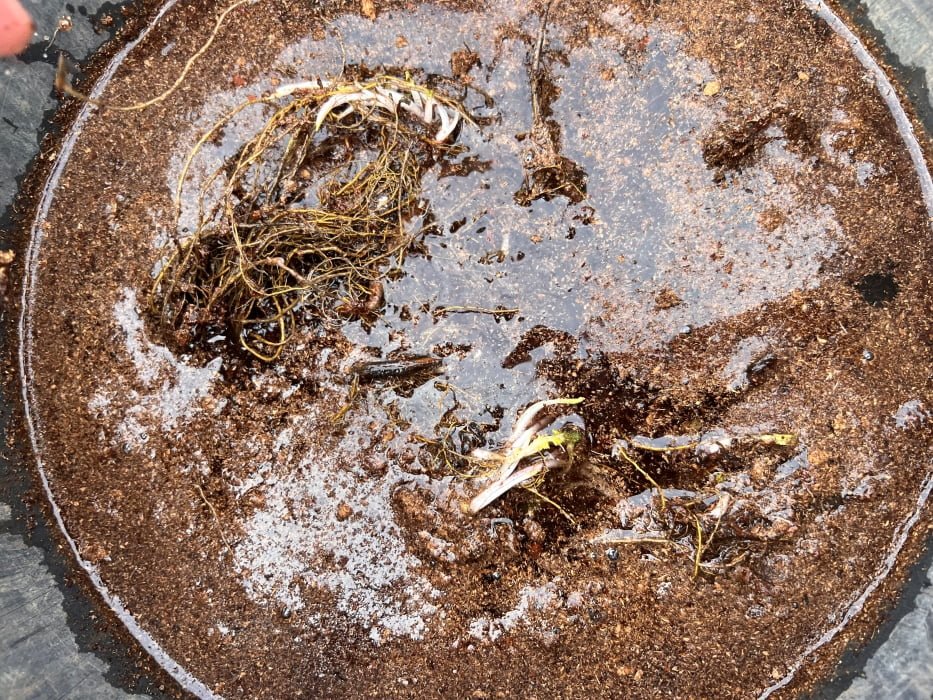
We ordered our bare root plants in December, so in early March when our bare root plants finally arrived at our doorstop, we were quite excited! We opened them up and inspected the plants to make sure they were all in good condition and read the care instructions thoroughly. Our instructions were to soak the roots for 3-6 hours before planting, this process helps rehydrate the roots and will prevents them drying out easily once planted.
Step 3 – Prepare your pots
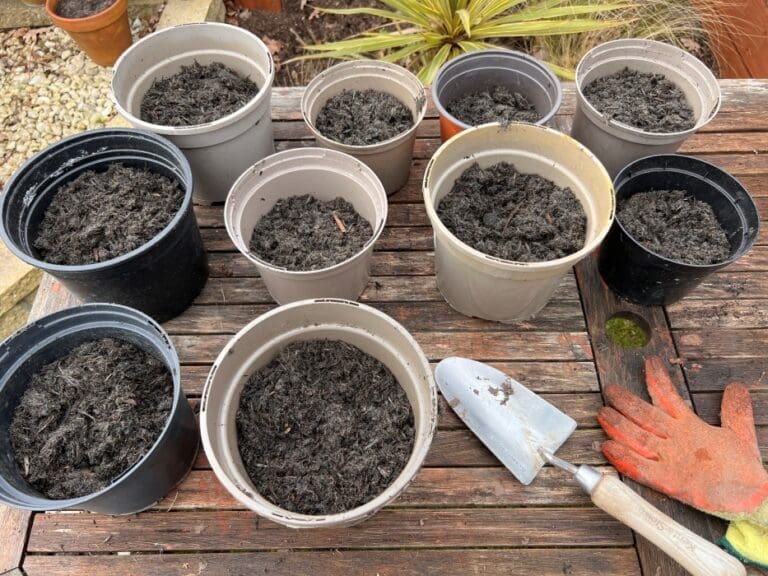
After you have soaked your bare-roots plants, you can either plant them straight away into the garden or alternatively plant them in temporary pots to help them to establish in a sheltered location for a couple of months.
I would highly recommend you first grow them on in temporary pots as they won’t be in competition with any weeds, and you can keep them sheltered whilst easily controlling light and moisture levels. Make sure your pots can comfortably fit your bare root perennials, we opted for 20cm diameter ones and filled them up with multipurpose compost.
Step 4 – Plant to correct depth

When planting your bare-root perennial plants in your pots you must make sure you do so at the correct depth. If you plant too deep there is a chance that your bare roots could rot. On the other hand, planting them too high above the soil can result in them drying out quickly. Its best to check the planting instructions for your plants but most will have a crown which should sit just below the surface of the soil. After potting them all up, firm the soil around them and water well to remove air pockets.
Step 5 – Grow on in a sheltered spot

Once you have them all planted up in pots, you just need to keep them in a sheltered but sunny position. Most bare-root perennials will need watering regularly but always check the care instructions for your chosen plants. Keep an eye on them and they should start to show signs of growth over the next 4-6 weeks.
Step 6 – Plant outside

After a couple of months of growing on in pots, if your plants are looking healthy and are showing clear signs of growth, you will be able to plant them out in the garden. Refer to your sketched planting plan and to the care instructions for each variety to ensure that each plant is given the right conditions to thrive. Most perennials will be happy in a sunny position with good free draining soil, but some will prefer moist soil like the astilbes that we ordered.
Step 7 – Enjoy your beautiful perennials

Finally, it’s time to enjoy your plants, which typically, in the first year will be establishing themselves in your garden. In the following years you are likely be rewarded with much larger growth and blooms of flowers. Just make sure your plants are given the correct conditions to thrive by planting them in suitable positions in your garden. Some of your bare root perennials may need to be protected if they aren’t fully hardy, this typically involves using horticultural fleece to protect from deep frosts over winter.
Would we buy bare-root perennials again?
Absolutely! This was our first time using bare-root perennials, but it was a really easy process which enabled us to get lots of great plants established quickly in our garden. The process was a lot faster than growing plants from seed and was also much more cost effective than buying potted plants from a garden centre.
From sketching out our initial planting plan, ordering, nurturing our plants when they arrived and finally getting them into the soil, we enjoyed the entire process. We do still have some bare parts of the garden to fill up so I’m already considering which bare root plants we could order this coming winter in preparation for next year.

